Tuesday, September 1, 2015

Summer in Scandinavia


First event of the summer of 2015 was the "Free Speed" event and boat show in south central Sweden (www.frifart.se) an awesome event with classic wood and fiberglass boats. Had a great time, and took home the judges award for Best in Show.


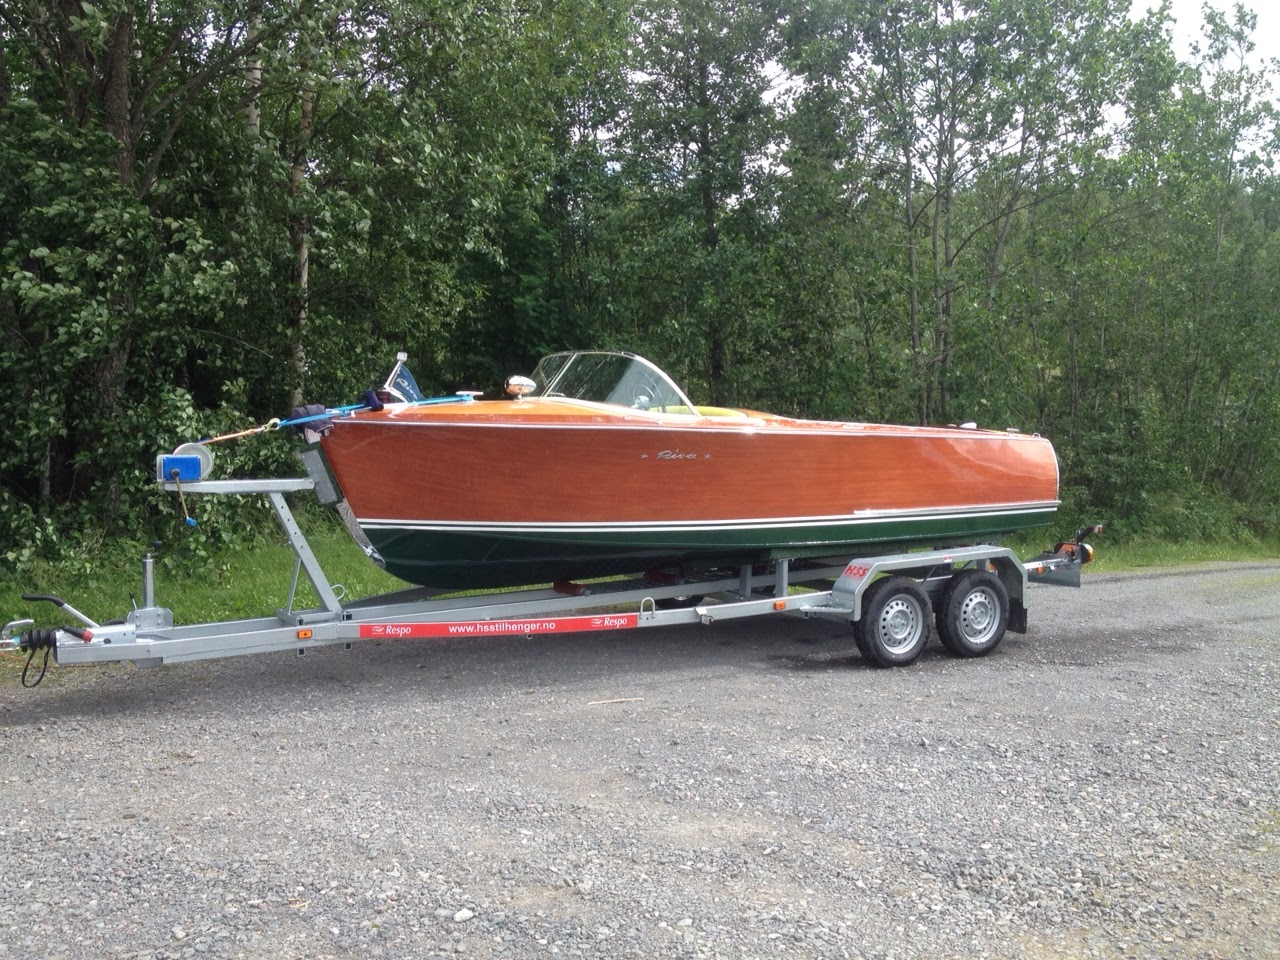
Boat is named "RUBIA", Spanish for blondie from the natural Khaya mahogany blond decks.


On water in the ocean in southern Norway, outside Kristiansand.


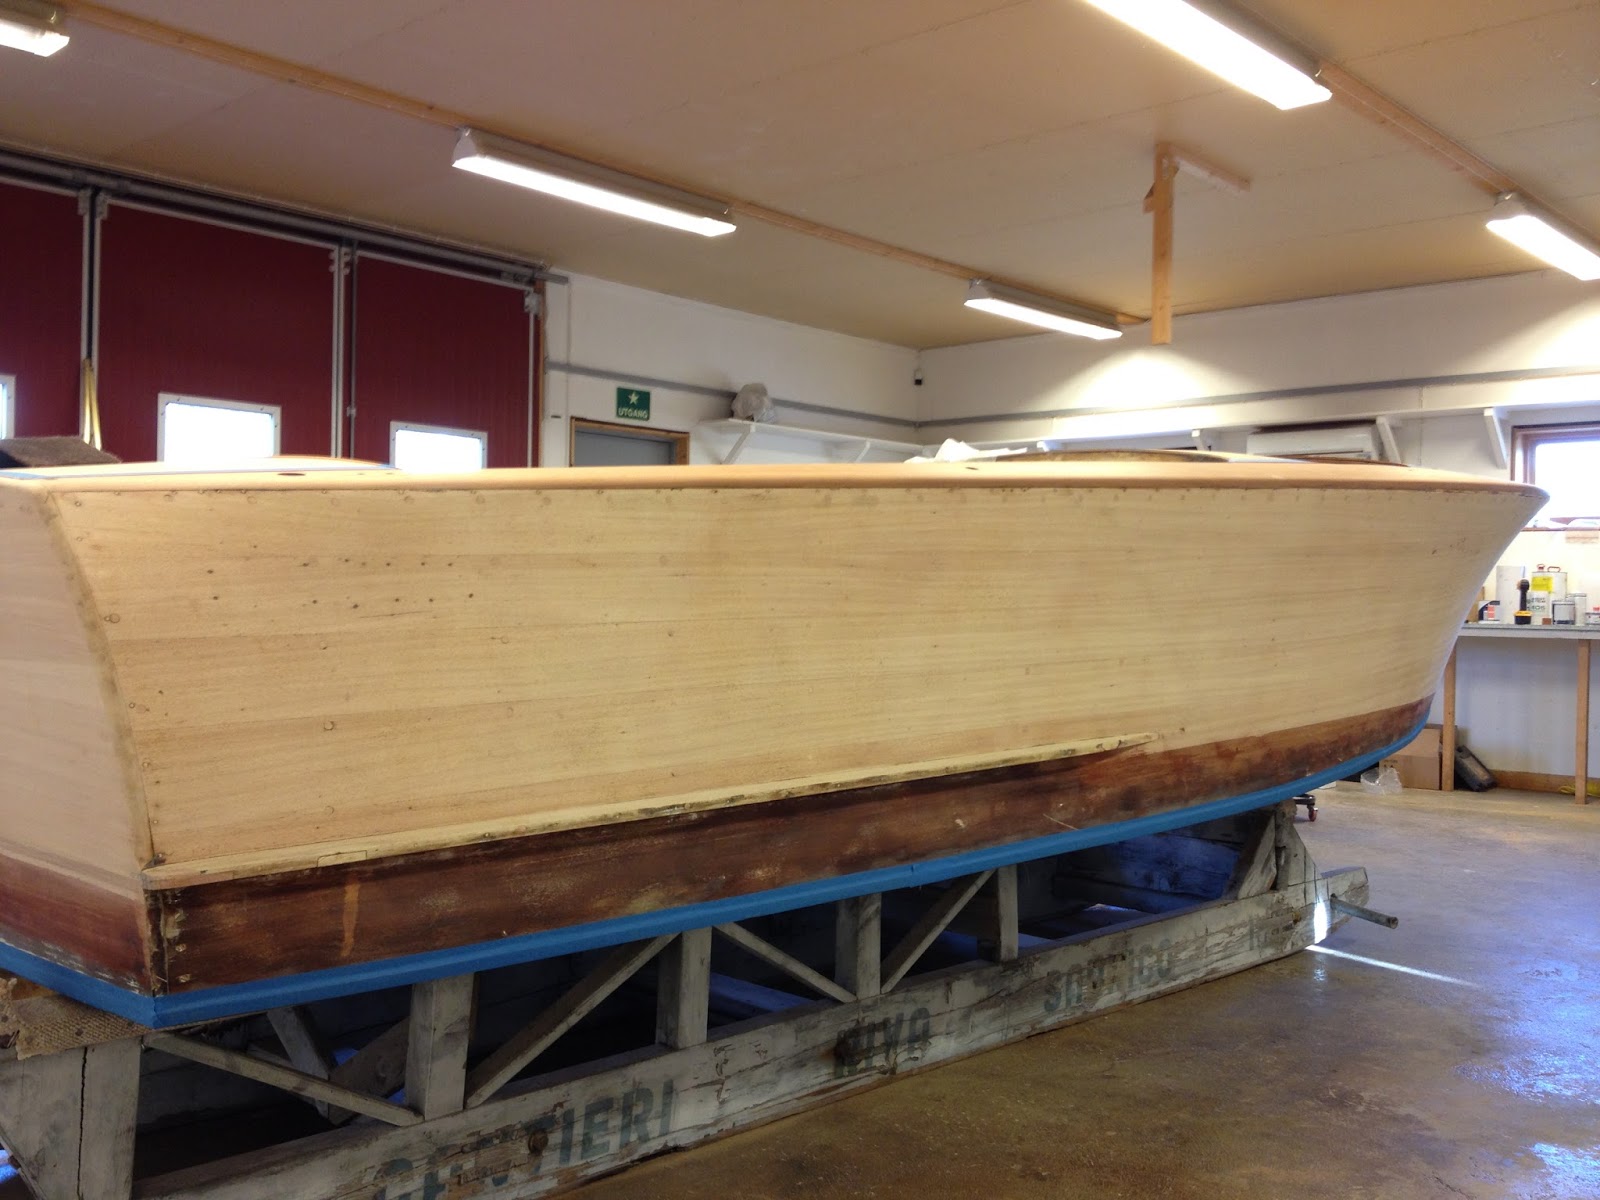
Had a beautiful summer with the boat. The engine is again removed from the boat, for a full overhaul of block and gearbox. Will be ready for use again next summer.

And, it floats!

 With a new custom fitted trailer, we are ready for the first trip in the water.


Does it float, does if leak, does it start?


All good and "out to sea".


My 10 year old daughter proudly at the controls.


Best seat in the house.


Ahhh, the interior

This 1958 Florida had (arguably) the best looking, coolest interior of all the Riva's. The infamous yellow, with black/white checkers. Sunpad in yellow vipa with white tufs. The colors are the essence of Italian design form the 50's. Most people has only seen this interior on old pictures from this time. The interior kit came from Morosini, and has a great quality, though not without a price..


 Of course, no restoration is complete with a new fitted blue Riva cover.


Now, just some engine work, a new trailer and we are ready for water!

Hardware.

After the poly have dried and harden for a week, it's time to start mounting the hardware back on the hull. A very tedious task since all Riva hardware is through hull bolted. Most of the hardware was in great condition, and some pieces had to be re-chomed. Took the siren to the US for repair by the good people at www.sirenman.com.


So... Where did all these go??


New interior panels are made.


Getting there.....

The last coat is laid down. This time I did not tip with a foam brush. Just rolled on a fine, even layer with a high end roller, resisting the temptation to go back and re-touch, and the poly flows out very nice and even. Through vacuumed and cleaned the shop, laid down water on the floor for two days, wearing well washed and lint free clothing.


Very happy with the finish. All the zebra stripes from the old finish is gone.


The poly-urethane flows out very nice by letting the finish flaten out from the roller without "tipping".

Water line stripes

The infamous last coat is getting close, and I want to paint the double 18 mm white water lines first. Spent hours in the dark lining the laser up with the original marks at the bow and stern.


Taped up, ready for paint.


I also installed the cockpit foam and vinyl trim before the last coat. Don't want any scratches!


Engine installed.


Final sanding, and ready for last coat!


Poly - Poly - Poly....

After research and the availability in Norway, I choose the use Epifanes 2-component Poly-Urethane finish for my boat. It is a hard finish that works very well on boats with laminated hull sides and deck. The finish would be too hard for a solid wood planked boat.


The finish goes on very nice with the roll and tip method. However this IS a 2-comp finish and has a very strong and harmfull fumes. Respirator is needed, and the odor will stay in your shop for a while. Heavy ventilation is needed after the coat is dust dry.


With this finish you can recoat new layer without sanding between, but before the finish harden. My method of laying the layers was three coats, within 20-24 hours of each other, wait 48 hours sand with 320 paper and repeat.


The color and depth of the mahogany comes alive. Coat number 6..


New finish

With the new bottom installed, boat flipped back up, it's time to remove layers and years of old finish. Tried some chemical options, without any luck or good results. The only thing working is elbow grease, scraper and a heat gun.


The screws for the sides at the shear lines had given up years ago. Removed all screws, plugged holes, clamped down, new silicon bronze screw and bungs.


Hull sides and deck sanded down with long boards for a fair and even finish.


After the last sanding, the sides are ready for bleaching. 

Bleaching and staining.

There was a a lot of water damage, and black stains from the glue used during the lamination process, so I opted to bleach the hull sides with a two part wood bleach before re-staining the hull with Stoppani Pasta Mogana stain.


After applying the bleach, the wood got dull and chalky. But it removed most of the stains, and reduced the "zebra" stripes dramatically. My hope is that the stain will cover the remaining.


Fairly happy with the staining job. The Stoppani Pasta Mogana is a paste type stain, and must be thinned down to your liking. There is a Stoppani / Riva user guide available to get the right mix.


The stain is somewhat difficult the lay down even. You brush it on wet, wait a little and then rug it out to how deep you want the color.


Now off to buy 2-comp polyurethane.

New bilge

With the new bottom, time for bilge paint. Stockholm Båtsnikeri has all the Stoppani products is stock, and the bilge is painted with the correct gray oil based paint.