Tuesday, September 1, 2015

New finish

With the new bottom installed, boat flipped back up, it's time to remove layers and years of old finish. Tried some chemical options, without any luck or good results. The only thing working is elbow grease, scraper and a heat gun.


The screws for the sides at the shear lines had given up years ago. Removed all screws, plugged holes, clamped down, new silicon bronze screw and bungs.


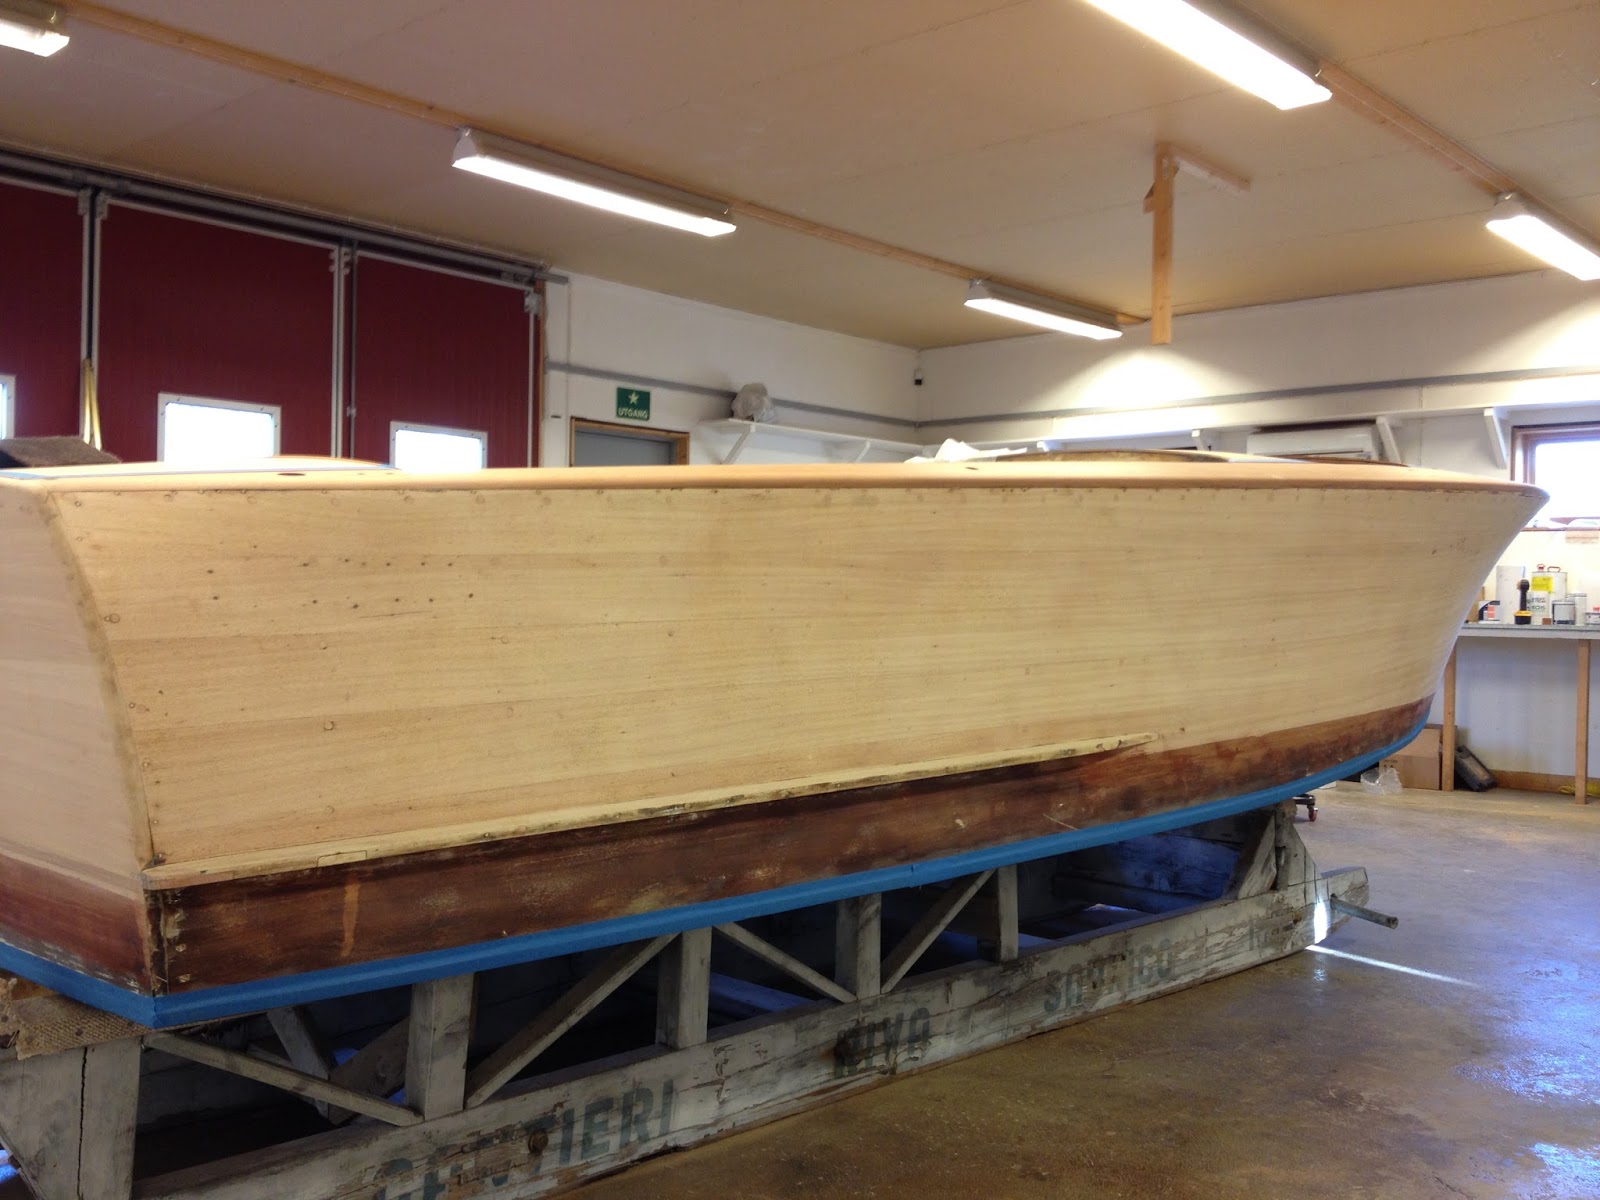
Hull sides and deck sanded down with long boards for a fair and even finish.


After the last sanding, the sides are ready for bleaching. 

Bleaching and staining.

There was a a lot of water damage, and black stains from the glue used during the lamination process, so I opted to bleach the hull sides with a two part wood bleach before re-staining the hull with Stoppani Pasta Mogana stain.


After applying the bleach, the wood got dull and chalky. But it removed most of the stains, and reduced the "zebra" stripes dramatically. My hope is that the stain will cover the remaining.


Fairly happy with the staining job. The Stoppani Pasta Mogana is a paste type stain, and must be thinned down to your liking. There is a Stoppani / Riva user guide available to get the right mix.


The stain is somewhat difficult the lay down even. You brush it on wet, wait a little and then rug it out to how deep you want the color.


Now off to buy 2-comp polyurethane.

New bilge

With the new bottom, time for bilge paint. Stockholm Båtsnikeri has all the Stoppani products is stock, and the bilge is painted with the correct gray oil based paint.


Sunday, March 16, 2014

Going green

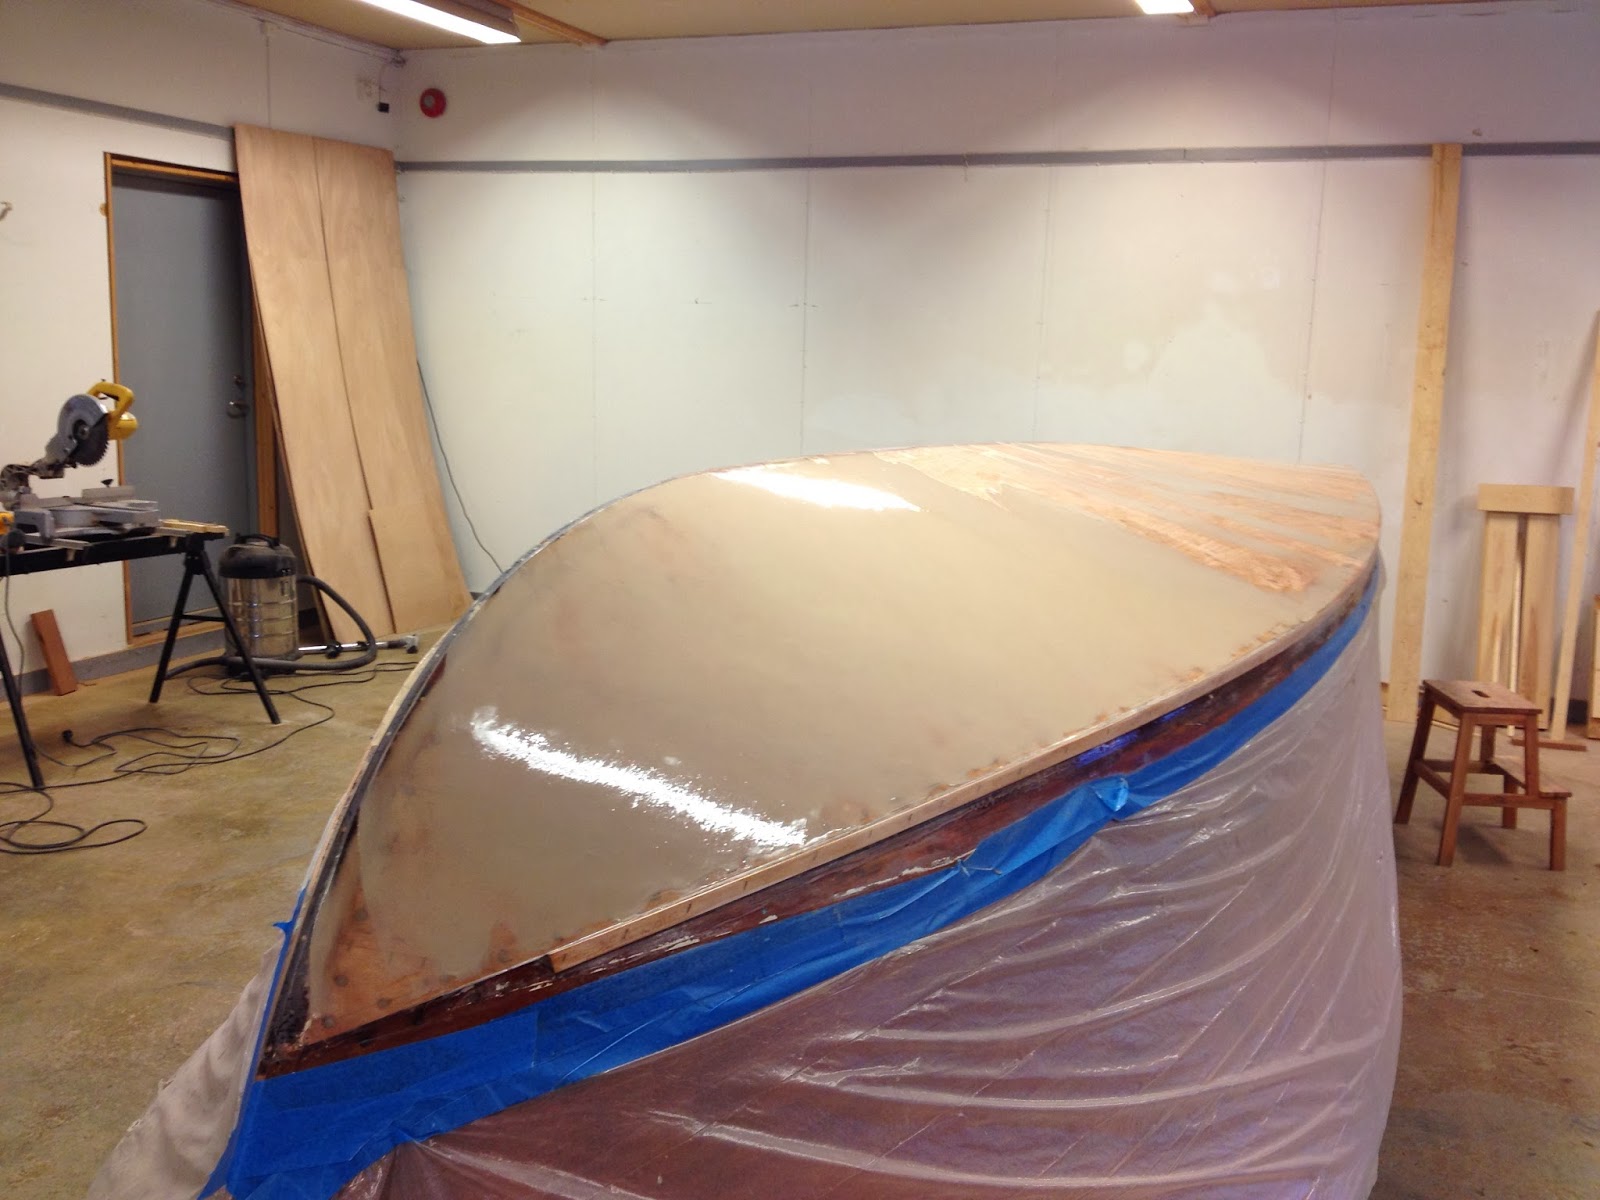
After letting the epoxy cure for 4-5 days, it was time fort primer and bottom color. I used a 2 component epoxy primer and a 2 component polyurethane bottom paint.


A dark green is the correct bottom color for the 1958 Florida. However, finding the right shade of green was not easy. The Riva green is a rather dark green, and non of the standard colors seemed right. I ended up making a custom mix of two standard Epifanes paints to find the right shade of green.


The prop struts and the rudder bushing is permanently installed with Sikaflex before flipping the boat over.


The boat back on even keel, getting ready for a complete strip-down of the old finish. Some repairs to the deck and side wood needs to be addressed. And the wood needs to be bleached to try to get the water stains out.


Saturday, February 22, 2014

inWESTed…..

When it comes to bottom replacements, everybody have an opinion. I'm not saying anyone is right or wrong, you have to do your own research and make the decision that fit you and your project best.

When it comes to Riva bottom replacements, I've found that there are two main choices:
- Use a single 10-12 mm thick marine plywood sheet OR layering 3 x 3 mm plywood with epoxy.
- Laying some kind of glass fiber material on the bottom or not.

When it came to use glass fiber or not, I asked around and spent a lot of time on the web, and decided not to use glass fiber. My choice was to follow Dan Nelson's, one of the renowned restores in the US, procedure for West System bottom. You can find his write up here.


After two coats of clear epoxy, its time to fair in the bottom. At the bow there will some unevenness due to the plywood strips used, and its fairs in with West 410 fairing filler.


After curing, the bottom is sanded even. 


First coat of West System epoxy, with 422 barrier coat additive.


4 coats with 422, laid with 8 hours of each coat. Once cured 48 hours, sanded 
down ready for 2 coats of Epifanes 2-component epoxy primer.


Saturday, January 25, 2014

Layered up.

Laying of the plywood with epoxy between is moving along. I'm using a microfiber thickening in the epoxy, and laying down a thick layer between the plywood layers. Making sure I'm getting a good "ozing-out" so there is no air pockets. I'm also sealing both sides of the plywood with CPES (Smith's Clear Penetrating Epoxy Sealer) as well.

Second layer.

Third layer goes down, with an initial fairing of the second.


The third layer is laid, making sure I'm getting nice tight joints by hand planing each 6" (150 mm) plywood strip for a nice joint. An initial fairing, and then screw the bottom down to chines, keel and frames with #10 x 1 1/4" silicon bronze screws.


Once again sealed with CEPS before finish fairing. 

Saturday, January 11, 2014

"West system" bottom

With the keel done, all the frames faired in, it's time to lay the new bottom. The original bottom on this boat was a 9 mm (3/8") single piece molded plywood, shaped in big shaped presses at the Riva plant.

My new bottom will be cold molded, or what it's known as in the US a "West System" bottom. Named after the use of West System epoxy though I will use a different brand epoxy. I got in contact with a whole seller and could purchase 13 kg for less than the cost of 5 kg West System.

For plywood material I imported BS-1088 quality Marine plywood from Robbins Plywood in the UK. I will lay three (3) layer with 3 mm plywood, with thickened epoxy between.


The plywood is attached to the keel, chines and frames with 3M5200, and stapled in place with marine use Monel rustproof staples. When all layer are done, I will use silicon bronze screws to the frames, as original. I will also use CPES (Smith's clear penetrating epoxy sealer) on both sides of the plywood before laminating.

First layer done. Two more with epoxy between.